How to Build Ubuntu in Azure
Most people do not associate Linux with Microsoft, but Windows Azure offers some great options for Linux VMs. Pricing is competitive with Amazon EC2, and the actual server provisioning in Azure is very fast for a Linux VM. I’m going to walk through the basic steps of getting Ubuntu in Azure. Creating the VM, SSH connections, and basic configuration for a web server. Ubuntu is a Linux distro based on Debian, and is one of the most popular operating systems for hosting web applications.
1. Before getting started in Azure lets make sure we have a few client tools before we get started. Download WinSCP, we’ll use that later for file transfers. Download OpenSSL, I’m using this library, we’ll use that to generate an x.509 certificate. And if you don’t already have Putty, download the Putty Zip Package and extract to your machine. You’ll need Putty and PuttyGen.
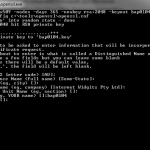 2. Lets generate the SSH Key first. If you’ve ever generated an SSH Key before, doing it for Azure is slightly different. You have to upload the public certificate in an x.509 format, either a .pem or .cer file. Launch the OpenSSL prompt and use the command below to generate a certificate. Change the file name to match your server name. You also need to change the -config path to the path openssl.cnf on your machine.
req -x509 -nodes -days 365 -newkey rsa:2048 -keyout serverName.key -out serverName.pem -config c:\openssl\openssl.cnf
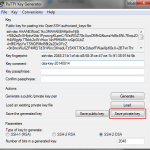 3. You should now have a .key file and a .pem file in the OpenSSL directory. Open PuttyGen and click Load. You’ll need to change the file type to All Files and browse to your OpenSSL directory, open the .key file. Click “Save private key” and save as a .ppk file, we’ll need this later. If you don’t fill in a passphrase PuttyGen will prompt you to confirm you don’t want a passphrase. The passphrase will be used when you use the certificate to connect. For anything other than a sandbox or POC, you should use a passphrase. Now you have a .ppk file for SSH Authenication with Putty.
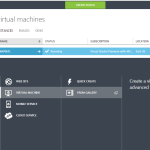 4. Login to the Windows Azure Portal and navigate to Virtual Machines. Click New from the lower left corner and select Compute -> Virtual Machine -> From Gallery. The Server Image Gallery will open.
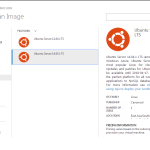 5. Select Ubuntu Server 14.0 and click the arrow in the lower right corner to go to the next step.
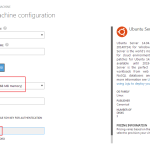 6. On the next screen fill in some basic info for the server.
- Fill in a name for the server. You’ll use this later for connecting to it.
- Select the server size, how much ram and CPU cores to configure. Keep in mind for many tasks Ubuntu doesn’t need a lot.
- The default admin user account is “azureuser”, you can change the name here and you probably should.
- Make sure “Upload Compatible SSH Key for Authentication” is checked.
- Upload the .pem file that we created with OpenSSL earlier.
- Click the arrow to move to the next step.
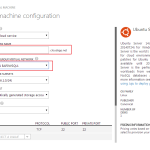 7. On this screen you’ll need to select some networking related options.
- Leave the default option for Cloud Service Name and DNS Name
- If you have an existing server that you want to connect with select the virtual network. If not select the Region closest to you.
- Leave the rest of the default options and click the arrow to the next step.
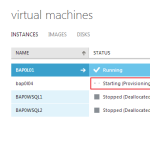 8. Click the Check Mark on the next screen to start provisioning the server. You’ll go back to the Virtual Machines list and your new server will be listed as Starting Provisioning. In a few minutes it should be started and ready for you to connect.
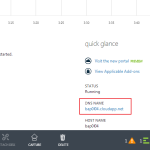 9. Once the server is listed as Started you can connect to the server to continue configuring it. Click on the new server from the Virtual Machines list. In the lower right corner you’ll see some basic information. Copy the DNS name.
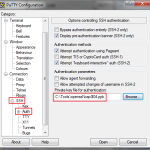 10. Open Putty from where you downloaded it earlier. In the host name field paste in the DNS name for your server, and in the Saved Sessions box. Under Connections expand SSH and select Auth. For Private Key File for Authentication, browse to where you saved the .ppk file and select it. Go back to the Session screen and click Save. Now click Open.
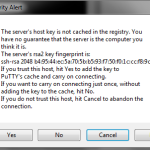 11. You’ll be prompted to accept the server’s SSH Host Key. Click Yes and Putty will cache the information and you will not see this the next time you connect.
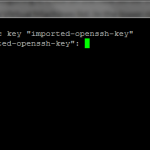 12. You should now be prompted to supply a username. Here we’re going to use the username we created in Step 6. If you kept the default its “azureuser”. Press enter and if you created a pass phrase for your SSH Key in Step 3 you’ll need to provide it now. If you didn’t you won’t be prompted for one. Press enter again and you are now logged into the shell of your new server.
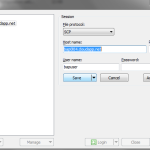 13. Lets make sure we can transfer files to the server if needed. FTP is an option here, but I think for most cases SCP works just as good and is much more secure. Also unless your application needs FTP it lowers your profile. If you haven’t done so already unzip WinSCP and open WinSCP.exe. The setup is going to be very similar to Putty. Select SCP as the protocol, fill in your host name for the server, and the username from Step 6. Click Advanced and navigate to SSH, Authentication, provide the path to your .ppk file in the Private Key Path. Click Ok and Save.
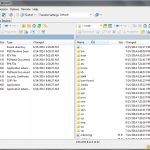 14. Now click Login and you’ll be prompted to accept the server’s SSH Host Key. You’ll be prompted the the SSH certificate pass phrase if you created one. Once logged in WinSCP will give you an Explorer style interface with your client file system on the left, and the server’s file system on the right. You can now copy files to the server and manipulate files on the server as needed.
15. Now we want to do some basic server setup for hosting applications. First update and upgrade apt to the latest version. Back in your Putty session run the following commands. Each command may take a few minutes to execute.
sudo apt-get update
sudo apt-get upgrade -y
16. Install Apache2 with PHP 5 and MySQL support. In Putty run the following command:
sudo apt-get install php5 libapache2-mod-php5 libapache2-mod-auth-mysql php5-mysql
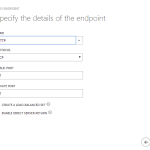 17. We need to enable port 80 for Apache now. Go back to your server details in the Azure Portal and select the Enpoints tab. Click Add and leave the default option for a Stand Alone Endpoint. On the next screen Select a Value from the top dropdown and select HTTP, all the details will be populated. Click the confirm and port 80 will be configured for your server.
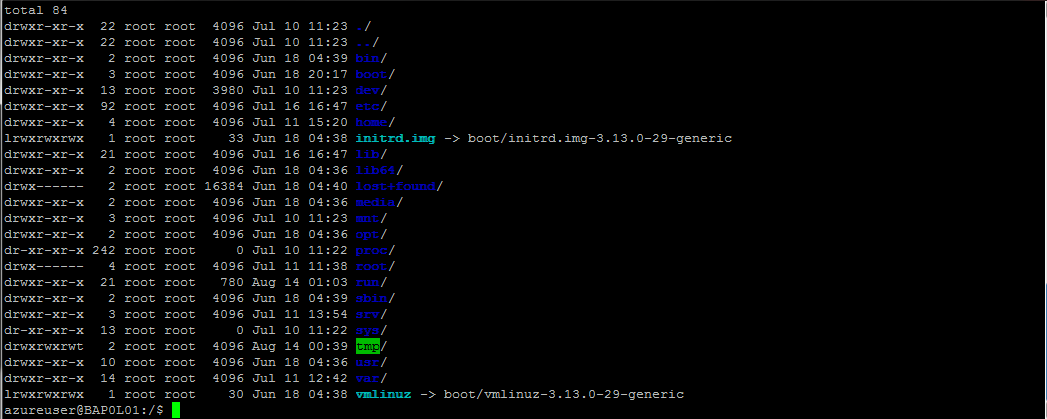
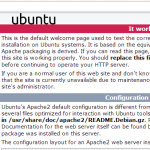 18. At this point you have a functioning web server. You should be able to navigate to your server’s domain name in a browser and pull up the Apache2 default page. You can navigate to /var/www/html/ in WinSCP to edit or replace the default file.
19. Depending on your application needs you can use the following command to get other server software installed.
MySQL (During the install you’ll need to provide a root password)
sudo apt-get install mysql-server
Node.js
sudo apt-get install -y nodejs
Ruby on Rails
\curl -L https://get.rvm.io | bash -s stable
source /home/username/.rvm/scripts/rvm
rvm requirements
rvm install ruby
rvm use ruby --default
rvm rubygems current
gem install rails

