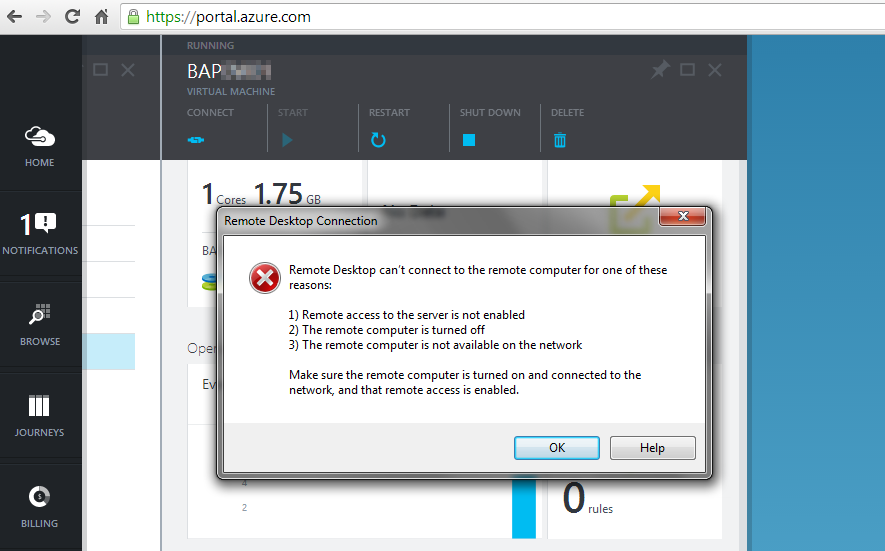
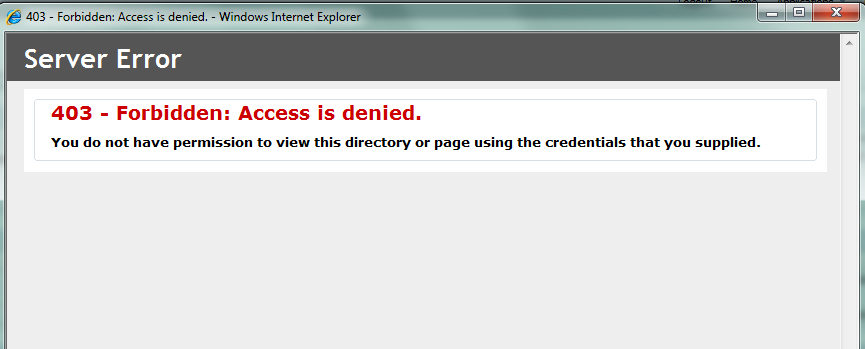
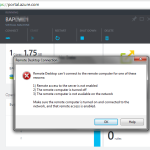
 If you’re connecting to an Azure VM from a corporate network you may run into RDP connectivity issues. By default your RDP client will try to connect to the server over the Internet using port 3389. Most corporate and large organizational Internet Proxies and Firewalls block outbound connectivity to port 3389. You’ll see the ugly message to the left when trying to connect. Luckily, its pretty easy to configure the public ports on your VM. Here’s how I modify it.
Windows Azure RDP Troubleshooting
1. 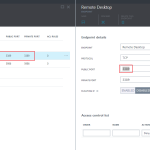 Open your Virtual Machine configuration from the Azure Portal and select Endpoints. Then select the Remote Desktop endpoint, it will show the current details, which should be a public and private port of 3389. Note, you need to wait until your machine is fully provisioned and running before trying to make these changes or you won’t be able to save.
2. 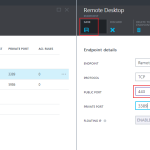 Edit the Public Port field and change it to a port number that’s open. I usually use 443. If your planning to run HTTPS from this server, try something like port 21. Click Save.
3. 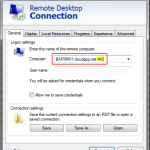 Now click the Connect button in the upper left corner to download the updated .rdp file. I’ve noticed some time there’s a delay in generating a new .rdp file. If you get a connection error, edit the .rdp file and confirm the port is correctly set to :443.
4. 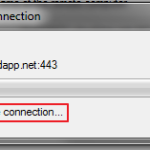 Click Connect, when the RDP connection says “Securing Remote Connection”, you know your communicating with the server. The server and client negotiating security for the session.
 5. On the first connection you should be prompted with a security warning for the server’s certificate. Accept the warning and continue to connect.
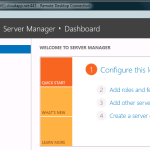 6. You should be presented with a standard Windows RDP login screen now. Enter the username and password you had to enter during the initial server setup in the Azure Portal. Login and you’ll be ready to work.

