Historically application developers have had two choices when it came to authentication for their applications. Implement their own login processing, or rely on a SSO system like CA Siteminder or Oracle Access Manager. Both approaches have their downsides. Even when using one of the ASP.NET Providers, its a lot of work to build your own Identity and Authentication system. An SSO system can unburden developers from dealing with security but the upfront costs for OAM or Siteminder can easily be cost prohibitive for small companies or startups. Auth0 is presenting a 3rd option, Identity Infrastructure as a Service. Auth0 is claiming to provide a more modern solution for authentication to just about any type of developer, that’s easy to implement and maintain. I decided to put Auth0 to the test and see how easily I could setup authentication on an MVC Application.
What Auth0 Offers
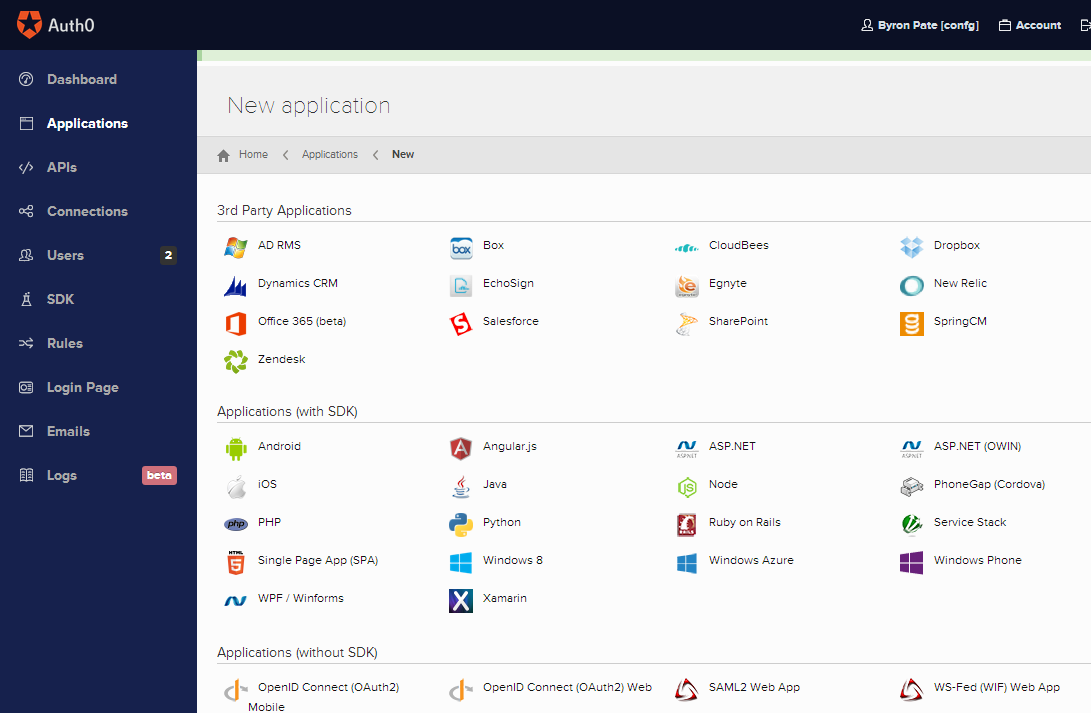
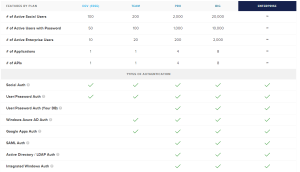 Auth0 at its basic level is a Cloud based Identity and Authentication Service. But Auth0 offers a ton of options. On the Identity side you can host accounts in Auth0, you can host accounts in your own database or LDAP, you can host accounts in another Cloud provider like Azure Active Directory, or support Social logins like Google, Microsoft, or Twitter. They support most every modern Application Framework, ASP.NET, PHP, iOS, Android, Ruby, Python, Angular, and Java. Plus integration with 3rd party applications like Office 365, Zendesk, Box, Sharepoint, and Salesforce. On top off all this, the entire Auth0 API can be interacted with so you can build pretty much whatever you need. There’s a lot more functionality that I’m not going to cover, but its fair to say Auth0 covers most of the functionality you’d get from CA or Oracle and certainly more than most people would build themselves. Pricing is attractive for both startups and large shops. Starting at $0 for 1 application with 50 users, going up to $6000/year for 10,000 users.
Setting up ASP.NET MVC Authentication with Auth0
1. The first step is registering an account. The process is very fast and simple. No payment information needed. In less than 5 minutes you’re account is ready.
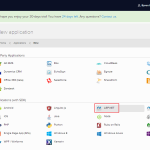 2. Add a new Application from Dashboard. I selected the ASP.NET application and entered a name for my application. Then accepted the defaults for Username-Password-Authentication database.
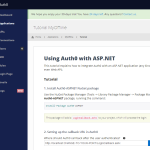 3. Next I’m presented with a tutorial on how to configure my ASP.NET application. This gives you application settings you’ll need in your application.
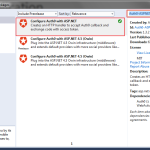
4. In Visual Studio I created a new MVC Website with no Authentication. I installed the Auth0-ASPNET Nuget Package. As part of the Package install a LoginCallback.ashx will be added to the root of your application.
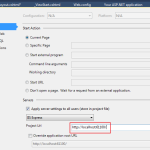 5. Go into the Visual Studio Project properties and select the Web tab to find the IIS Express port that you’ll be using locally. For test and production environments this should really be 443. Add this Port number into #2 on the Auth0 Tutuorial page and save.
– Update the Auth0 entries in your web.config with the values specific to your Auth0 application.
 6. To add a link to the Auth0 login widget, add a reference to their javascript in your _Layout.cshtml. Initialize the widget using your Auth0 application settings. Add a “Login” link to the navigation bar.
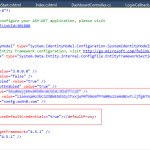 7. Open your web.config and update the 3 Auth0 AppSetting entries using the values from the Tutorial page. These are necessary handling the token callbacks between Auth0 and your application. I also found that when testing behind a proxy you need to add an entry for <defaultProxy enabled=”true” useDefaultCredentials=”true”></defaultProxy> in your web.config so your application can make the call to the Auth0 API. If your’re getting a NullReference error from client.ExchangeAuthorizationCodePerAccessToken(context.Request.QueryString[“code”], context.Request.Url.ToString()) in the LoginCallback.ashx during a login, then you need to add this. Auth0 Support quickly helped me figure this out.
 8. Setup a protected resource. I added a new Controller and decorated it with [Authorize]. The LoginCallback.ashx generates a cookie based ClaimsPrincipal which the application can reference on subsequent logins and pull User information. One of the default User properties that Auth0 has is a Gravatar Image.
[Authorize]
public ActionResult Index()
{
string email = ClaimsPrincipal.Current.FindFirst("email").Value;
string name = ClaimsPrincipal.Current.FindFirst("name").Value;
string img = ClaimsPrincipal.Current.FindFirst("picture").Value;

ViewBag.Message = "Hello " + name + "<br/>Your Contact Email: " + email;
ViewBag.Image = img;
return View();
}
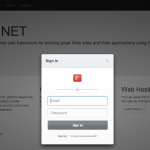 9. Time to test, run the application and access the Login link. The Auth0 modal login widget appears. I was able to create a new user from the widget, I received a confirmation email from Auth0, and then was able to login. I can then successfully access the protected controller and see my user information pulled from Auth0 and displayed.
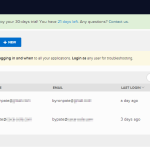 10. From the Auth0 Dashboard you can track user accounts that are created and frequency of logins. It also gives you the ability to edit account information. Even track where the user is logging in from.
Auth0 to ASP.NET Plumbing
 Tracing a login request in Fiddler we can see what’s happening from an Auth0 perspective.
- An unauthenticated user access an protected resource in the website.
- The user opens the javascript login window. After entering credentials, they’re posted to the Auth0 API.
- With a successful login the user now posts to a login callback handler on the Auth0 side. I’m assuming this generates the tokencode for the user.
- Auth0 redirects the user to the LoginCallback.ashx within our application with the tokencode in the querystring. The Auth0 code in our application calls back to the Auth0 API to retrive user information and then creates ClaimsPrincipal cookie that is used for the life of the session. If your application is running behind an Internet Proxy make sure it can communicate with the Internet.
- Another post to the Auth0 OAuth handler to create an OAuth cookie on their side.
- The user can now access a resource protected with [Authorize] and pull user details from the ClaimsPrincipal object in code.
Final Thoughts
Auth0 packs a huge punch in nicely priced and easy to implement package. For startups or solutions being built in the cloud Auth0 is kind of a no brainer. For large enterprises who are already using a Siteminder or OAM solution, some of the features like XSS Protection, SQL Injection Protection, and Bad URL Character blocking are not present in Auth0. But this is really because OAM and Siteminder function as application proxies and Auth0 works more like an API that you authenticate against. I also didn’t see the ability to manage password complexity or password aging for user accounts. But I think anyone who is evaluating options for their application authentication should look at Auth0 and see if it fits their use cases. I think its an interesting solution that’s challenging the existing offerings.

